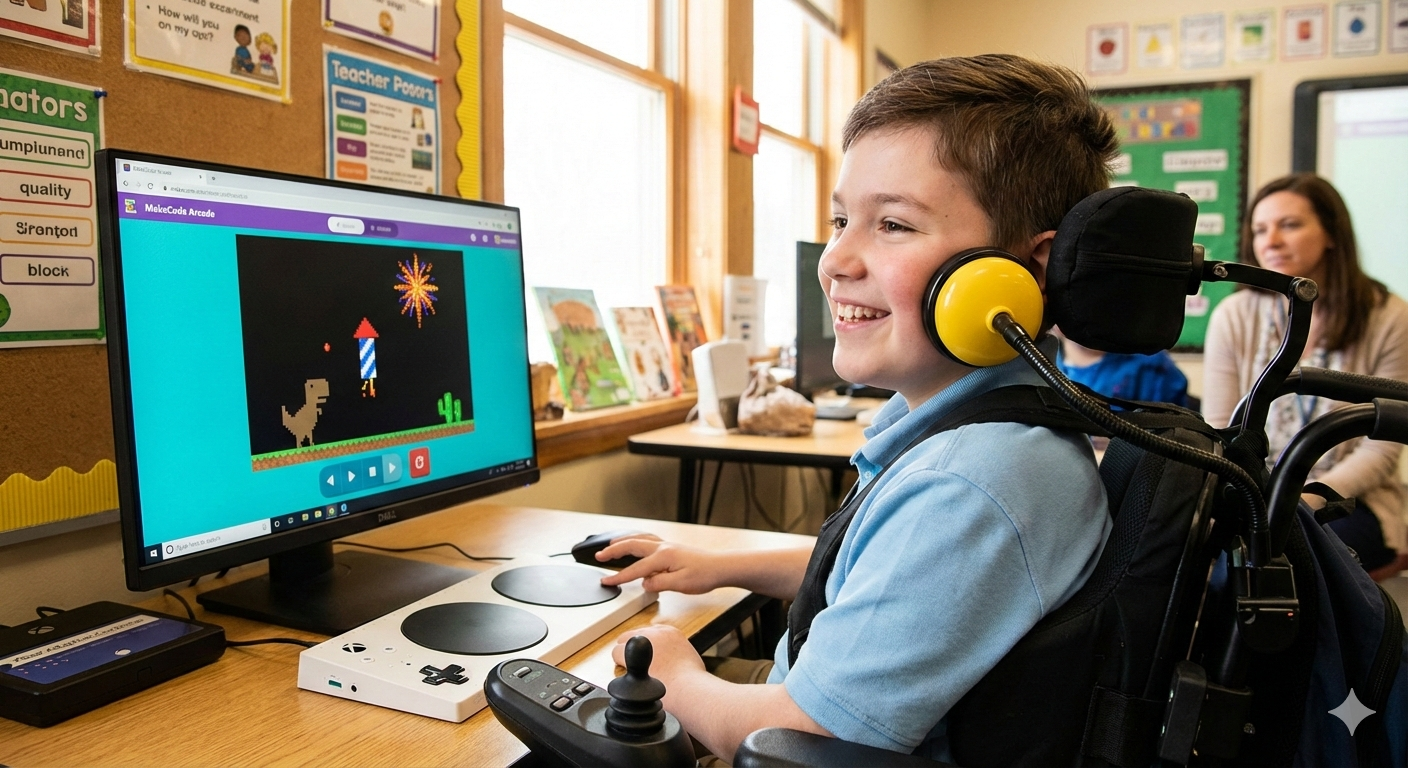
In the world of special education and disability services, we often talk about “access.” But access isn’t just about being in the room; it’s about having the agency to change what happens in that room. For individuals with limited mobility, adaptive gaming is one of the most joyful and effective ways to build that agency.
By creating custom video games—specifically through platforms like Microsoft MakeCode Arcade—we can move beyond “off-the-shelf” solutions and build experiences tailored to a player’s exact motor and cognitive needs.
Creating custom games can be a powerful tool in the CS classroom to provide purpose and meaning to the games being designed. The addition of keyboard navigation to the MakeCode Arcade editor is in the works and will eventually allow adaptive games players to not only play but also create!
Why Custom Games? The Benefits of Adaptive Play
Traditional games are often too fast or complex for new switch users. Custom-built games offer:
- Motivation & Engagement: Instead of a generic “cause and effect” button or adapted toys, a player can make their favorite cartoon character dance or blast a rocket into space.
- Cognitive Development: Games may teach critical thinking, problem-solving, and spatial awareness in a failure-free environment.
- Physical Rehabilitation: Playing a game requires repeated, intentional movements, helping to strengthen motor pathways and improve coordination. Mouse event games can also help develop the coordination and endurance to control joysticks and eye gaze systems.
- Social Inclusion: Being a “gamer” is a powerful social identity. Accessible games allow players to compete and cooperate with peers and siblings.
Understanding the Hardware: Switches & Interfaces
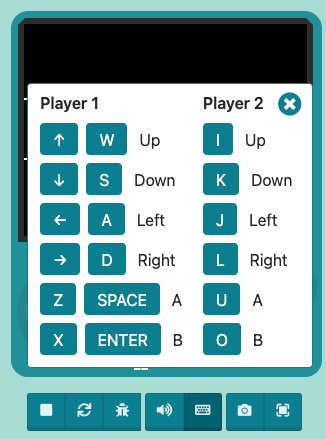
To play a digital game, the physical movement of the player must be “translated” into a computer command. The MakeCode Arcade simulator has keyboard commands for each of the arrow and button presses allowing players to have alternate access methods for play.
Each switch may be programmed as one of these keyboard commands.
*The hardware mentioned here is a sampling of available solutions and should not be considered an endorsement of any one device. Seeking the assistance of an assistive technology or rehabilitation professional would be advisable in order to meet the needs of each player.
1. The Switches (The Inputs)
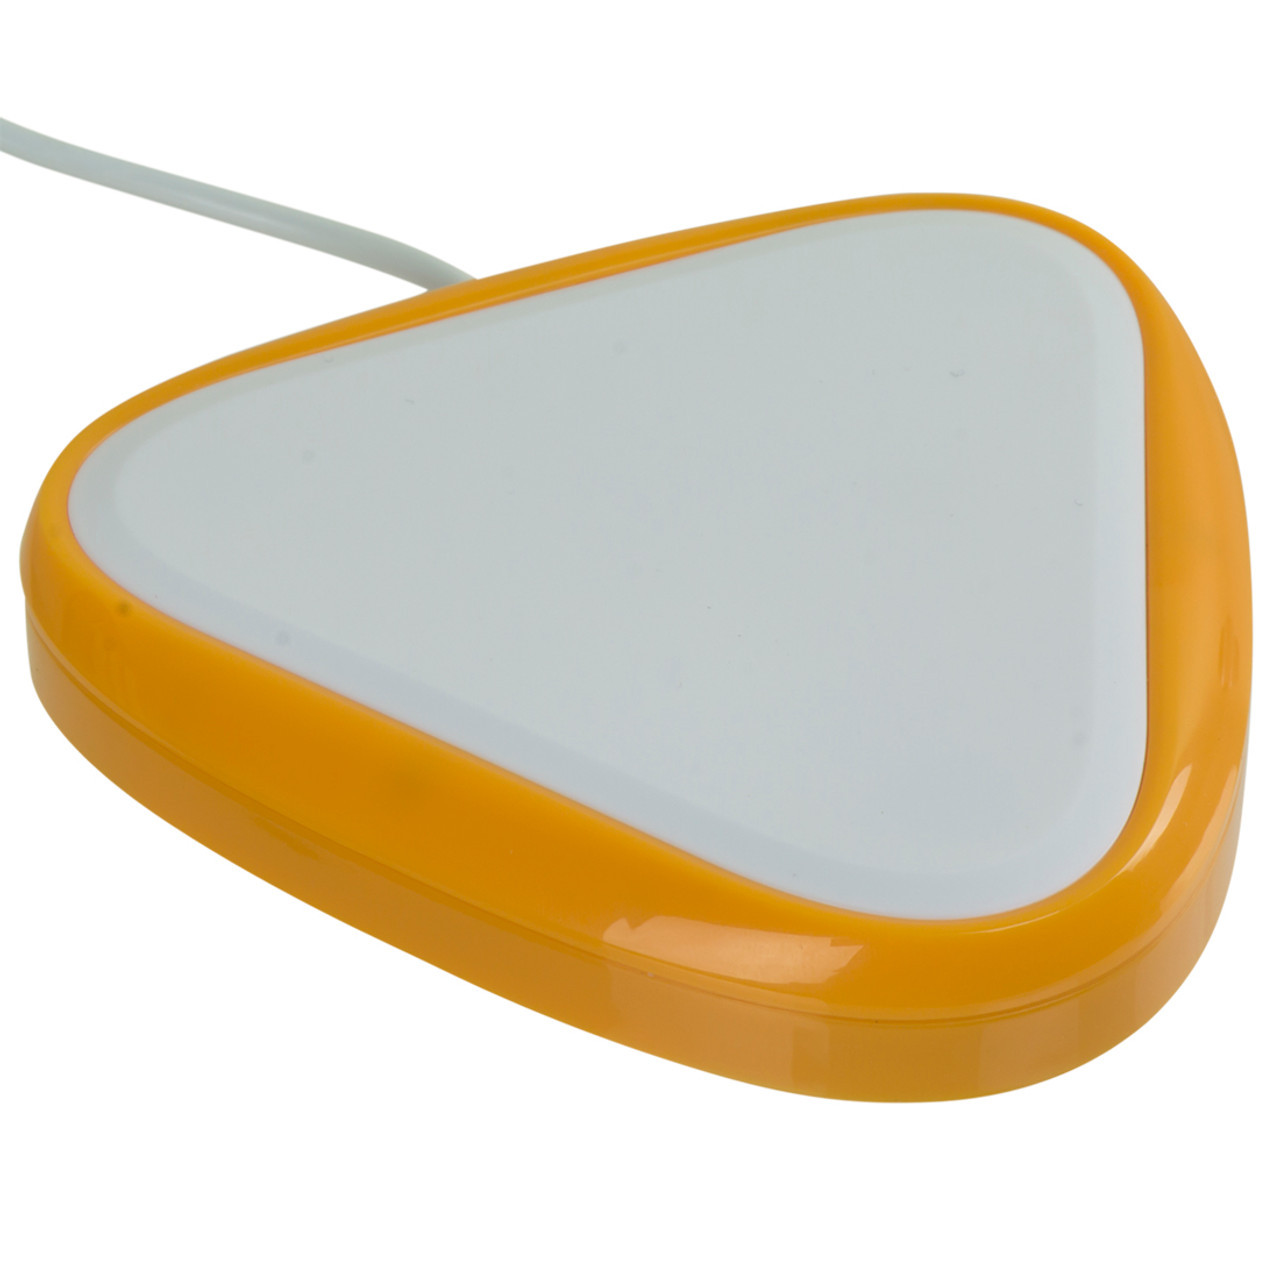
A switch is essentially a button that can be activated by any reliable body movement. They come in many forms:
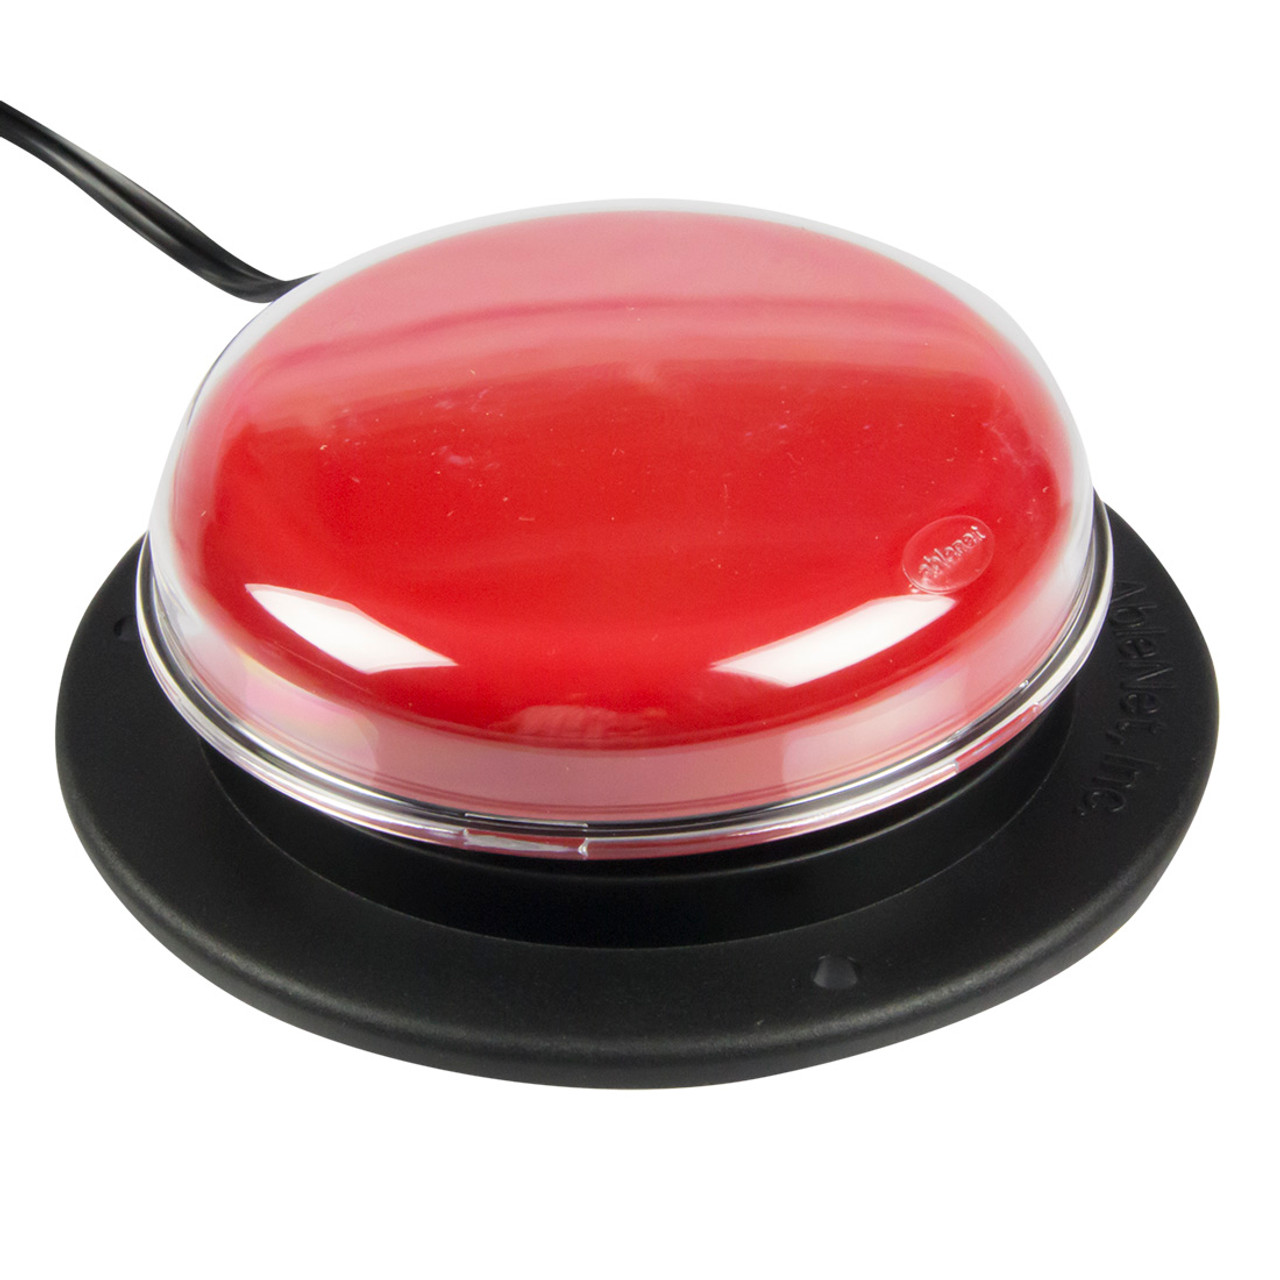
Button Switches: Like the Jelly Bean or Buddy Button, these are pressed by hand, head, or foot.
Proximity Switches: Activate without a physical touch (perfect for those with very limited strength).

Sip-and-Puff: Controlled by air pressure from the mouth.
2. Cursor Control
Games that use mouse control can also help support independence in the use of joysticks for either mouse emulation on a computer or first steps for directional control of a motorized wheelchair. It can also help develop eye gaze skills and endurance.

Optima Joystick:
Allows the user to control cursor mouse movements and click events using a joystick. Custom tops to fit fine motor control are available.

Smartbox Eye Game:
This system uses specialized cameras that read the location and movements of the eyes to control cursor navigation. Mouse clicks may be either be activated by switch control or by dwelling the gaze in the desired location.
3. The Switch Interface (The Bridge)
A switch cannot plug directly into a standard USB port. You need an interface to tell the computer, “When this switch is pressed, act like the ‘Spacebar’ was pressed.”

Xbox Adaptive Controller: The gold standard for gaming; it has 19 ports to plug in different switches.

Hitch 2 or Blue2: Simple USB or Bluetooth boxes that map switches to keyboard keys.

Makey Makey: A fun, low-cost tool for educators that turns almost any conductive object into a touch-sensitive switch.
Open Source Solutions
Cost can sometimes be a barrier for players to get started. There are a growing number of open source and maker based solutions to provide students with access to this hardware using off the shelf components and 3D printing. Makers Making Change, offers a getting started with adaptive game resources and offers a platform to connect with games who can support play.
The Platform: Microsoft MakeCode Arcade
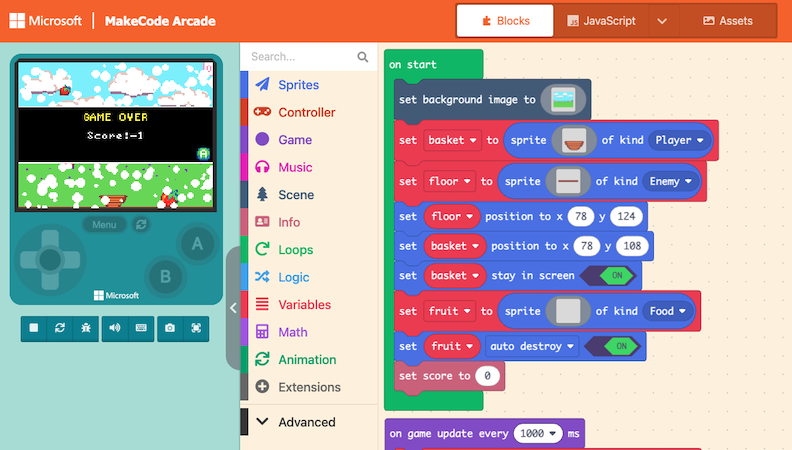
MakeCode Arcade is a free, web-based code editor that uses “blocks” (similar to Scratch) to build retro-style games. It is the perfect tool for this work because:
- Instant Feedback: It includes an on-screen simulator so you can test your game immediately.
- Remix: Games can be easily shared with a link and modified by anyone to meet a player’s unique needs.
- Accessibility First: The editor supports high-contrast modes and future keyboard navigation.
- Physical Hardware: Your games can be downloaded onto handheld devices like the Meowbit or BrainPad Arcade, or played on a PC, xBox console using the Adaptive Controller or highly customizable inputs using Raspberry Pi boards.
- Customizable Editor: The platform is open source allowing educators to customize and simplify the toolbox in the editor.
The Switch Progression Roadmap: Demo Game Ideas
Switch progression is a journey from “accidental” touching to “purposeful” control. Here are the stages of development and a game concept for each:
Cause & Effect
Learning Objective: Understand that my action causes an event.
Demo Game
Throw a Donut– press the A button to throw a donut on the screen and watch it fly.
Press & Hold
Learning Objective: Learning to sustain a movement for a duration.
Demo Game
The Hungry Shark– continue to press the A button to feed the shark a fish and watch it grow.
Press It Again
Learning Objective: Learning that repeated presses build on an action.
Demo Game
The Balloon Pump– Each press of the A button makes the balloon grow bigger. 10 presses wins the game.
Switch Timing
Learning Objective: Activating the switch at a specific moment.
Demo Game
Froggy Jump– A log floats by; the player must hit the switch (button A) to jump over the log. Jump over 5 logs to win the game.
Multiple Switches
Learning Objective: Using two switches for different functions.
Demo Game
Music Player– Up arrow cycles through songs on the music player. Button A plays and stops the music.
Simple Scanning
Learning Objective: Selecting an item from a moving highlight.
Demo Game
The Pizza Shop: Make a pizza in 30 seconds. Cycle through the toppings and press the switch (button A) to pick one and add 4 to your pizza.
Cursor Control
Learning Objective: Moving the duck to pop the bubble. Pop 10 bubbles to win.
Demo Game
Pop the bubbles: A highlight moves across toppings (pepperoni, cheese, olives). Press the switch to pick one.